For the start of the Obsession final piece, I originally wanted to do the piece on canvas and make the most of painting. However when I started, I realised I hadn't primed the canvas and effects I had tried out in my sketchbook didn't work as well on the canvas either. So I opted to use paper instead, as I had a rougher type of paper from a sketchbook that picked up much better than the canvas.
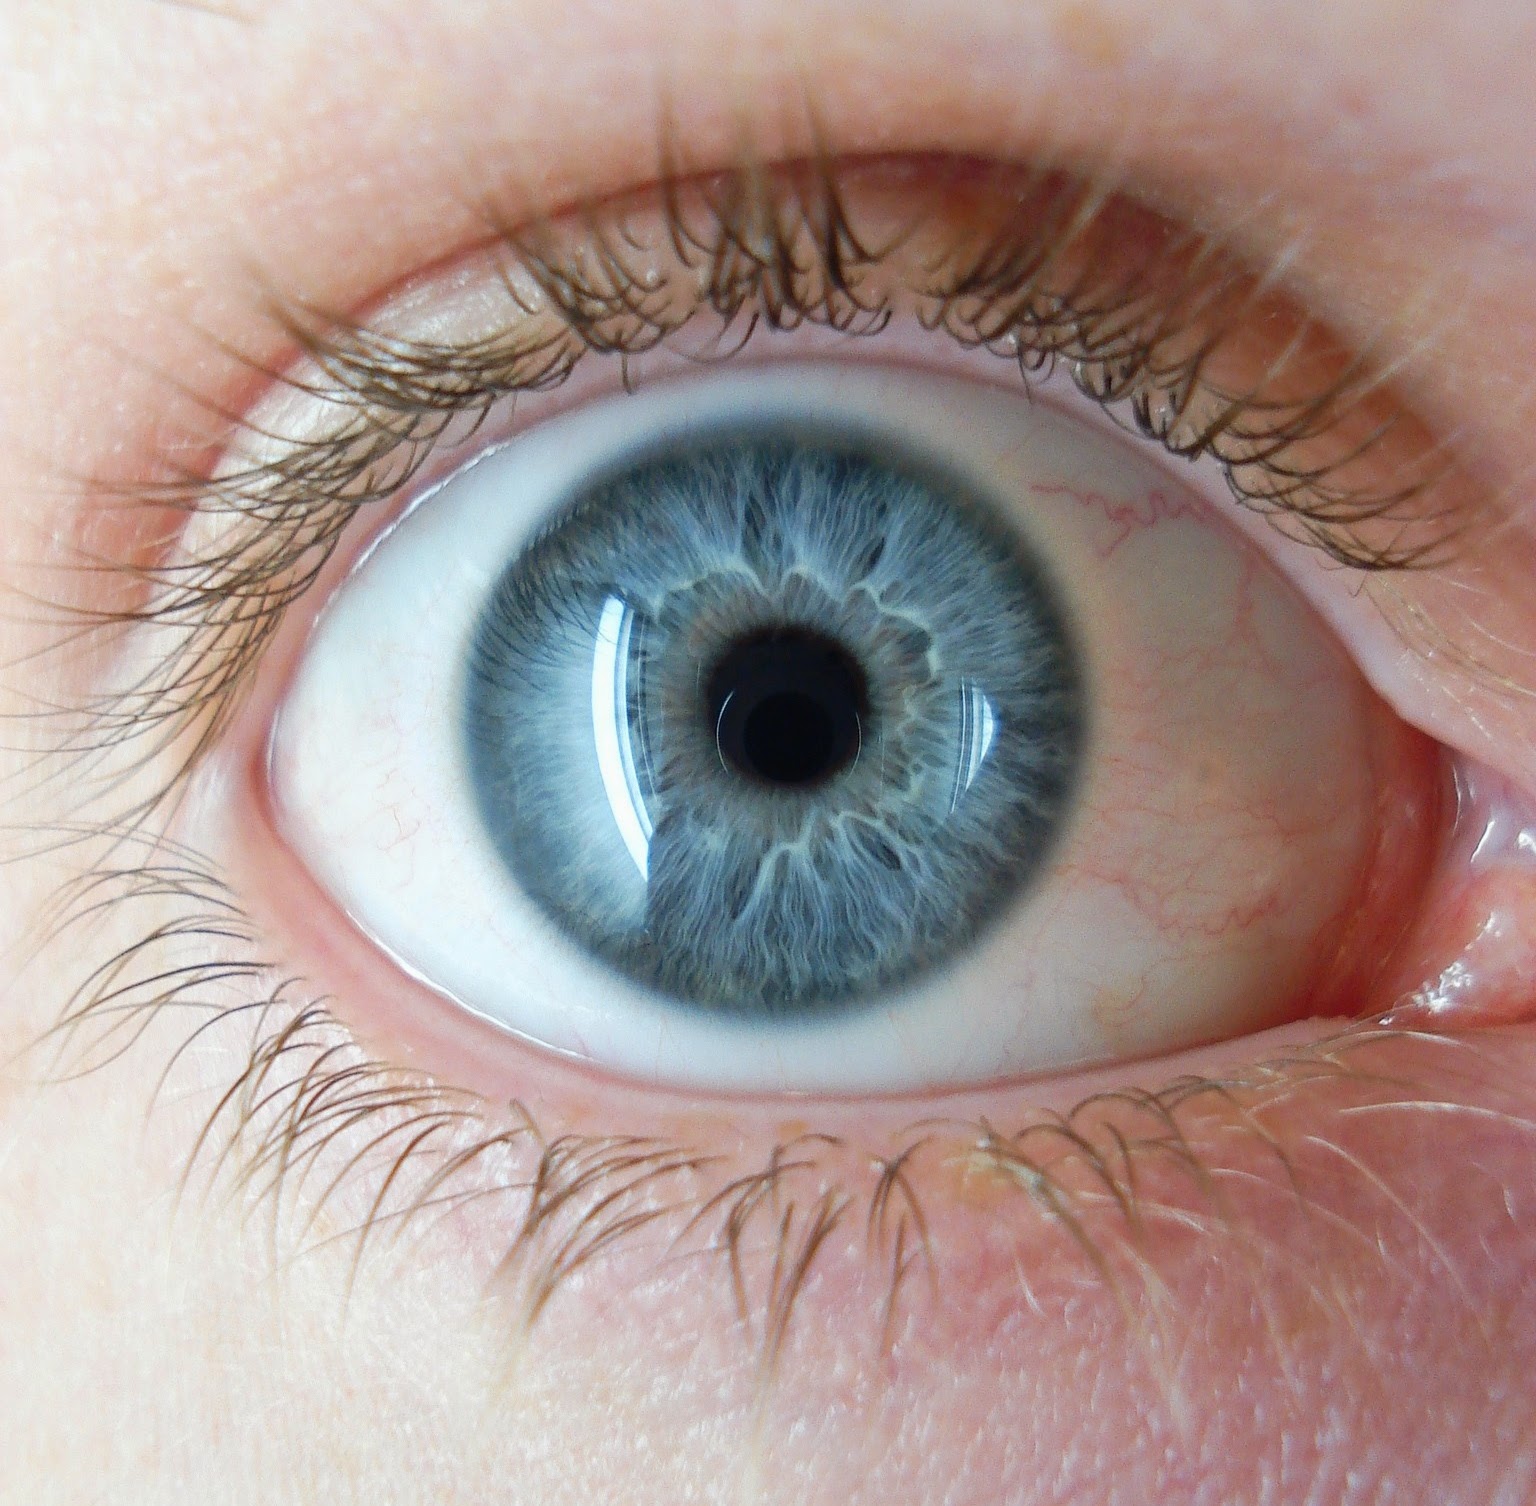
So starting slowly with just a large eye in the centre, I used acrylic paints to outline it for a block colour finish. I then used the dried out brush a few minutes later to drag around the eye to create a messy web-like effect that I had tried in my sketchbook that I thought looked really effective. Then I dragged a green pencil over it a few times for colour and texture before working on the 'colourful' corner of the piece.
This corner was started with a yellow highlighter, Gold acrylic paint and a fine liner.
When completely filled, Copic Markers were also used and a few watercolours within the larger eyes. I also started using a silver paint marker too for outlines and boarders within the patterns.
Then I started on the 'Alan Doyle'/Eyes Shout What The Lips Fear To Say section. Asides from the watercolour on the lips and the brown copic marker in the middle, the rest of materials used was the black fineliner, Grey Copic Marker and the silver paint marker. This took much longer than you would think and was actually a good few hours work here. (It seemed to take forever as well!)
I also added the different languages "Eyes" part around the middle eye here as a frame for it.
After filling in the black around the different languages, It still felt quick plain to me so I used the silver and gold paint markers to add a boarder. I liked that it didn't circle around the whole of the eye either, as I like the crazy ways the layers are now starting to end and begin.
From here I started my Madoka Kinshita inspired eye at the top left corner with acrylic paints and watercolours.
Beside the Madoka styled eye, I felt it would be best to put the Occult inspired piece next to it as this corner would now become a spiritual/night themed corner. Watercolours, Acyrlics and the fineliner were used to create the yellow (sun) and blue (moon) eyes piece.
I also thought from here it would be quite cool to mirror the sort of wheel of different coloured eyes on the left bottom corner too.
More black and white pieces added as well as the "Stars in my eyes" quote for the Madoka eye because I felt it the style matched that quote well with the dotting effects.
All things added from here were drawn with the fineliner, Grey copic marker and silver paint marker again.
I wasn't 100% sure how to finish up the piece so I added much more black and white pieces as I didn't feel more colour would be the way to go. So many more busy yet small 'Alan Doyle' like sections where added. All with the fineliner this time as it was the only tool I had that could get such small areas done smoothly.
After filling in the last few tiny sections, I was finally done! Really happy with the outcome of this piece as well!
~ ~ ~ ~ ~ ~ ~ ~ ~ ~ ~ ~ ~ ~ ~ ~ ~ ~ ~ ~ ~ ~ ~ ~ ~ ~ ~ ~ ~ ~ ~ ~ ~ ~ ~ ~ ~ ~ ~ ~ ~
This was a small piece I did before getting the final brief. As a tester for a Alan Doyle inspiration piece but using the quote "Eyes shout what the lips fear to say". The materials used were watercolour paints, fineliners and black poster paint. This small piece definitely helped me with my final idea and I felt i should add it at the end of the write up to show were a large part of my idea came from. Using the fineliner to create small, detailed patterns was time consuming put effective and I knew I wanted to add this in my final piece somehow.
~ ~ ~ ~ ~ ~ ~ ~ ~ ~ ~ ~ ~ ~ ~ ~ ~ ~ ~ ~ ~ ~ ~ ~ ~ ~ ~ ~ ~ ~ ~ ~ ~ ~ ~ ~ ~ ~ ~ ~
Write up final evaluation :
For my final piece, I knew I wanted to have a heavy
influence of outsider art. After studying outsider artists and watching
documentaries, I really enjoyed seeing how art can be so inspiring for people
and a way to truly express themselves. I wanted to have an outsider-y feel as I
think it matches well with obsession in a way too. Watching ‘Outsiders’ draw
showed them truly lost in what they were doing and obsessing over making sure
each line was as they wanted it, even if it wasn’t perfect. So I wanted to try
something similar.
I started by drawing a large eye in the centre of the page
and from there, I would draw anything that came to my mind or inspired me at
that moment. I also had my sketchbook open to flick though every now and then
for extra inspiration. Asides from that, I wanted to be quite free with
whatever I would draw next. Seeing as
many outside artists don’t have a set ‘plan’ or ‘sketch’ to ink, that is what I
wanted to do by only having eyes as my focus and limiting myself to using only a few
watercolours and Acrylics, Copic Markers, a fineliner and a silver paint
marker.
I really liked what I saw of artist Alan Doyle and made most sections of my
piece much like his style with use of black and white with sections of text
here and there. The sections of writing
are either quotes I wanted to add relating to eyes or random thoughts that came
to my mind when thinking of eyes or opening eyes. I really enjoyed working with
limited colours as well, as it’s not really something I’ve done before. Simple
mark-making and patterns with black, white and grey looked so busy but I liked
having an at first busy and messy style but when you look, there is much more
detail than first thought.
The splashes of colour were mostly influenced by another
Outsider Artist, Angela Rogers. I found her style really unique and loved that
most of her works were flooded with colours. To add a bit of life to the piece,
I dedicated a corner to colour to break up much of the black and white. Other
influences were from quotes such as “Stars in your eyes” and “Eyes shout what
the lips fear to say” as when researching, I found these to be two of the most
interesting quotes about eyes. Adding in quotes also gave me more ideas for
things to draw within the piece. For instance the lips parting to show an eye
or using a Madoka Kinoshita style eye to go with a starry eyed theme. The other
influence then came from an occult meaning of eyes I found really fascinating.
The left eye is often associated with Lunar traits and Northern direction and
the right eye with Solar traits and Southern direction. The image of eyes with day and night themes
instantly came to mind and I wanted to add that in too. A final idea that came
to me was to add in the word “eyes” in different languages as reading a person
expression through their eyes is a universal language that we can all understand.
I enjoyed doing this piece as it was something very different to what I would
normally do, the outsider art style was a refreshing change that will probably
influence or feature in other works I might do in the future. However, If I
were to do this piece again, I think the only thing I would change would be
adding more symmetry, however I am still happy with the overall outcome.
 For Stage Two of the Visual Communication module I chose to illustrate the article about Sophie Ellis-Bector and Doll collecting : http://www.theguardian.com/lifeandstyle/2014/nov/07/why-collect-dolls-grew-out-stamps-sophie-ellis-bextor This is my finished piece alongside the edited article layout. The piece was made completely on Photoshop with scanned images from my sketchbook.