
We then moved onto a really fun and quick piece where we had to pick one of the three shapes - Circle, Square, Triangle. I picked triangle for the task and folded a A2 sheet of paper to use. The paper was folded into 8 sections that would end up being 8 actions the triangle will go through.

First of all was the simply draw the shape we choose in 2D. So here is the start of the triangle.
Then turn it into a 3D triangle. For each panel from here, we then had to make sure the next panel would include the difference from the previous (I.E - Keep the shape 3D throughout) Given time was about 30 seconds.

Next was to stretch the triangle while still keeping the previous details. This was a little more difficult due to tryng to keep the holes in the same places, just stretched out. Given time for this one was about 2 minutes.

After that step, the change was an interesting one, So then turn the shape inside-out. We had to consider what it might look like, what would the texture be? So I went for a realistic, flesh-y and bleeding effect. Given time around 5 minutes.
The final steps were to then turn the inside-out shape back into 2D and to finish it up by rolling it up!

This was a really interesting way to look at something so simple and turn it into something much more detailed and even create a small narrative along the way. Also, The way in which we folded the paper, it would then be re-folded to create a book-like presentation.
~ ~ ~ ~ ~ ~ ~ ~ ~ ~ ~ ~ ~ ~ ~ ~ ~ ~ ~ ~
~ ~ ~ ~ ~ ~ ~ ~ ~ ~ ~ ~ ~ ~ ~ ~ ~ ~ ~ ~

Our next piece was to first of all, take an item from a pile on a table. My chosen item was a lego figure. After we had our items, we where given awhile to draw the item to get used to how it looks, the different angles and views, if it can be moved etc. The sheet to the left was the sketches I did in the time we had.
Another A2 sheet was folded and prepared for the next step. The sheet of paper was again folded into 8 sections that would then be turned into a sketchbook!

While we waited to see how to use a stapling machine to turn the paper into a book, we started the next project. Our chosen item would be used to create a small story, the first 8 'pages' were written out for us and then finale 8 are left up to us to finish. The only rule we had was that we could not add sounds by writing them - I.E - Band! Thud!, But instead drawing shapes/images/marks to represent the sound.
The first page was simple. Draw the object. So I picked a very plain standing pose for the lego guy. Having the lego figure as a reference for each pose would be really fun to draw, as I had the freedom to move his head, arms and legs for each panel to create a unique pose.


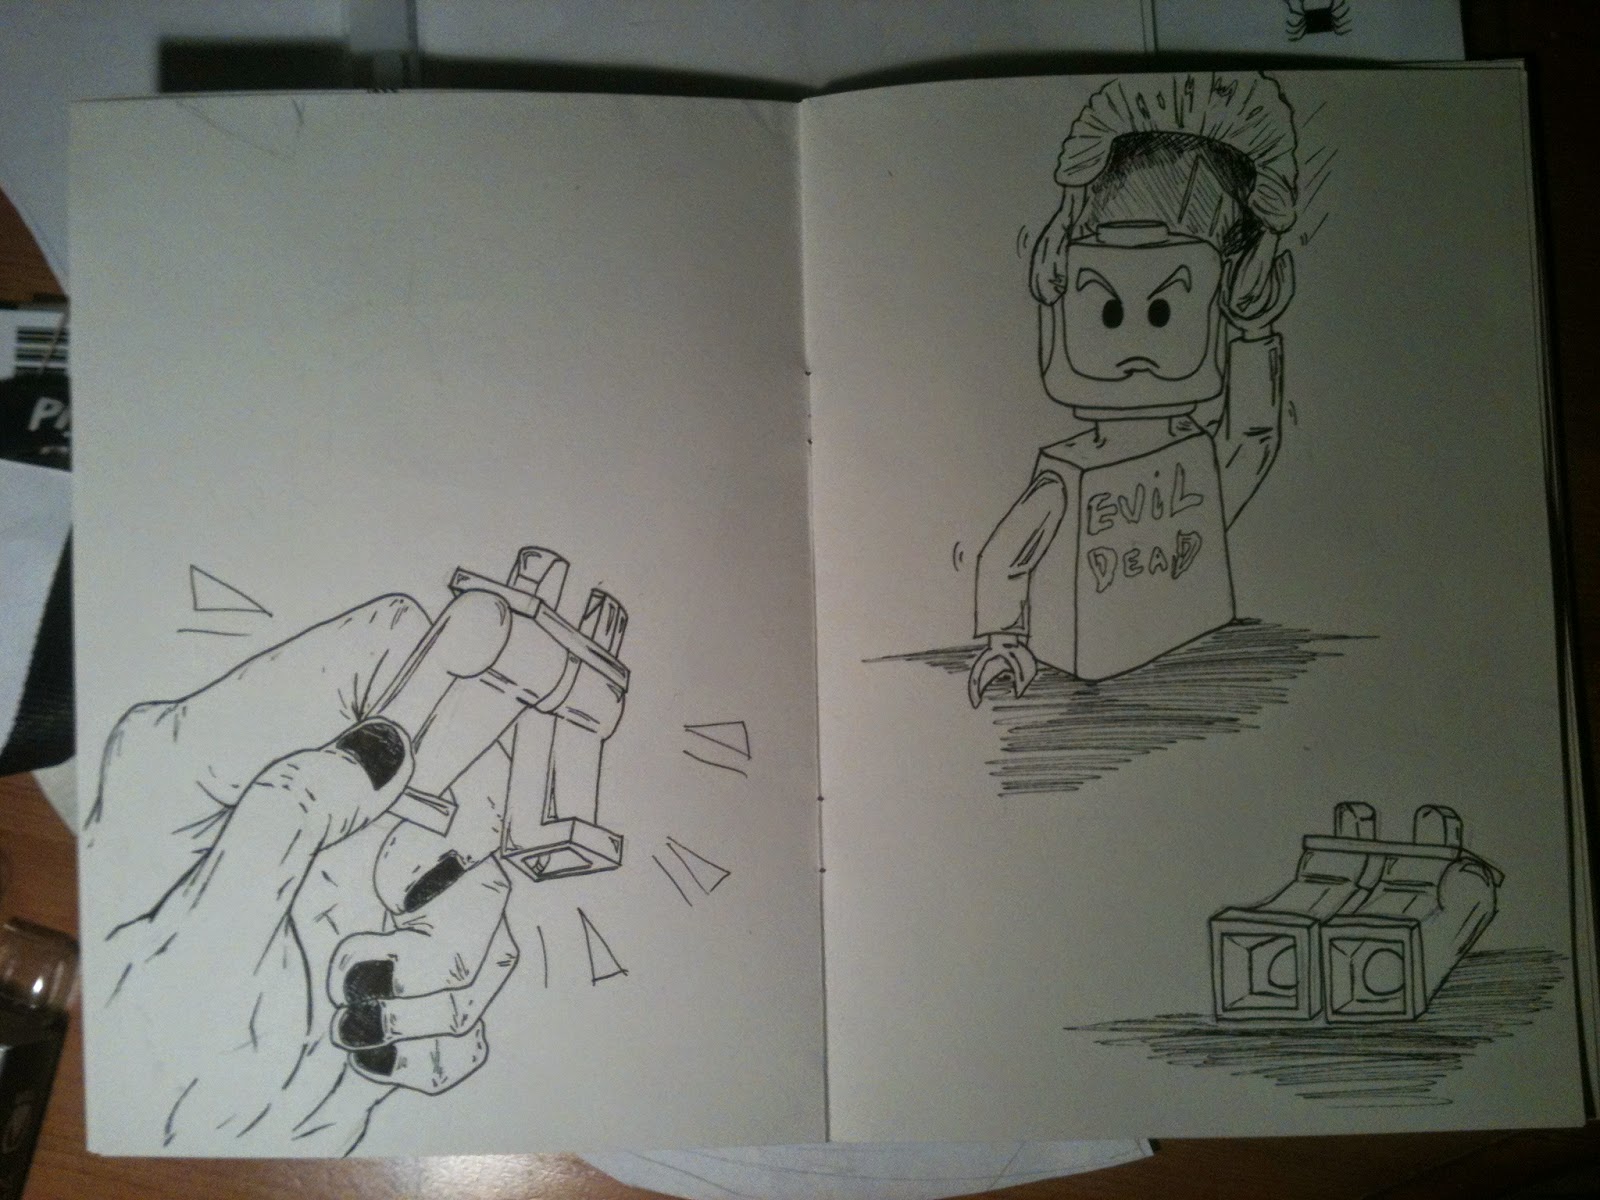
The second page was to then have our object being thrown/falling. Using my own hand as a reference, I drew the lego guy being thrown by a person. I also wanted to change his facial expression for a more comic-like effect.
The third page was to then have the object land.I was really really pleased with how this panel turned out!
Page 7 was to then have the figure restored somehow, fixed with anything. I wanted to have the lego guy put himself back together again for a fun image that I could then maybe later use for the rest of the story. I hope to continue this comic and have a finished story presented in the book.
No comments:
Post a Comment